

 doris@jshnbuzzer.com
Step-by-Step Guide to Connecting a Piezo Buzzer
 Jul 20, 2026|
 View:486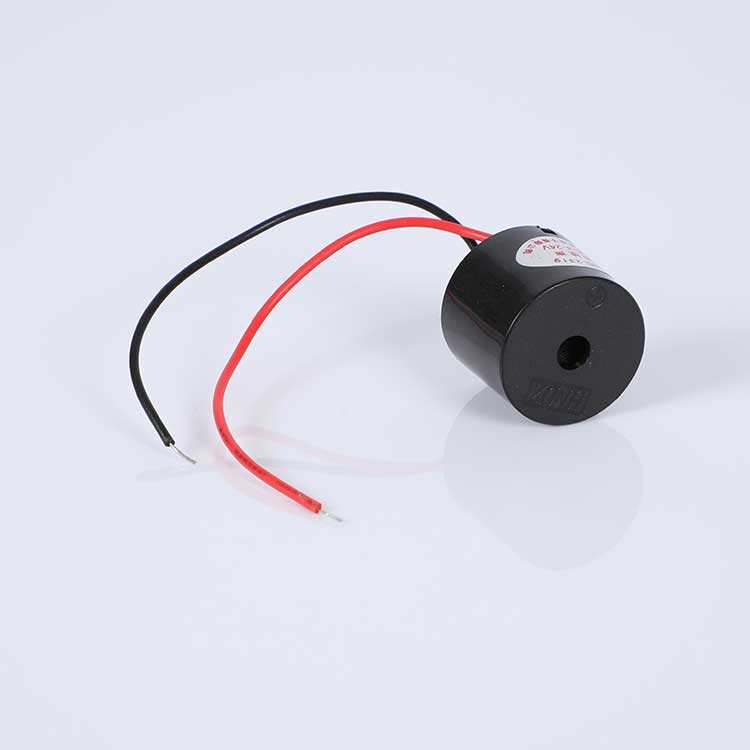
Piezo buzzer wiring is a fundamental skill for both DIY electronics enthusiasts and professional hardware engineers designing commercial products. Whether you are building a simple Arduino alarm or integrating audio feedback into a mass-produced medical device, understanding how to properly drive a piezoelectric component is crucial.
Jiangsu HUAWHA Electronics Co., Ltd., a leading manufacturer with over 15 years of experience, provides high-quality piezo buzzers used globally in automotive, home appliance, and IoT applications. In this guide, we will cover everything from basic breadboard wiring to PCB design considerations for mass production.
Key Takeaways
Polarity Matters for Active, Not Passive: Active buzzers require strict DC polarity, while passive piezo elements typically do not.
No Current-Limiting Resistor Needed: Unlike LEDs, piezo buzzers are capacitive loads and generally do not require series resistors.
Signal Type is Key: Passive buzzers need an AC square wave (like Arduino's
tone()function) to vibrate, whereas active buzzers only need a DC voltage.Design for Resonance: For maximum volume, drive passive buzzers at their specific resonant frequency (often around 2kHz - 4kHz).
Materials and Tools Needed
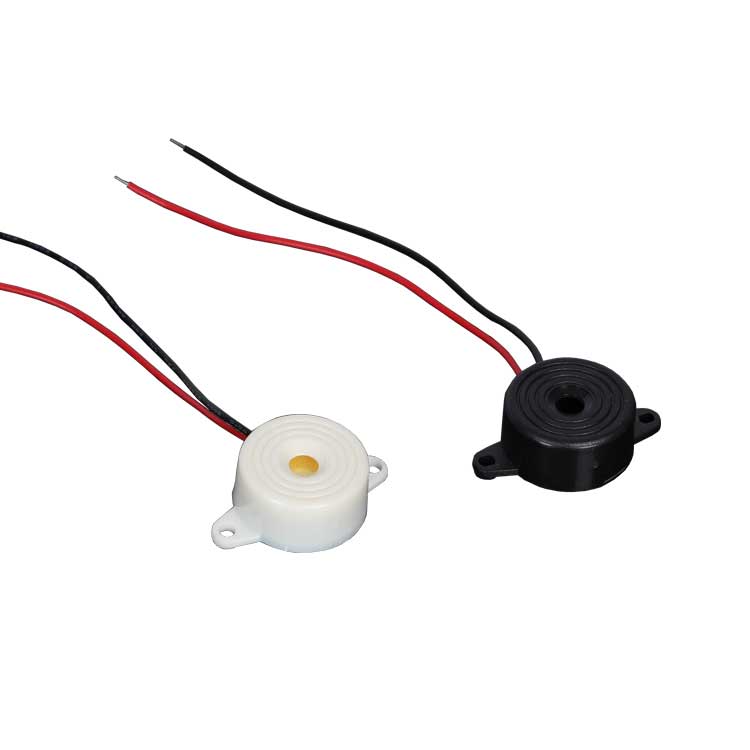
What You Need for a Basic Circuit
Piezo Buzzer (Active or Passive, depending on your project)
Microcontroller (e.g., Arduino Uno, ESP32) or DC Power Source
Breadboard and Jumper Wires
Multimeter (for troubleshooting voltage and continuity)
Optional but Recommended: NPN Transistor (e.g., 2N2222) or MOSFET if you are driving high-voltage (12V/24V) industrial buzzers with a 3.3V/5V logic pin.
Engineering Note: You do not need a current-limiting resistor for a standard piezo buzzer. Because they operate on the piezoelectric effect, they act as capacitors and draw very little continuous current. Adding a resistor will only unnecessarily dampen the signal and reduce the volume.
Choosing the Right Buzzer for Your Circuit
Not all buzzers are the same. Picking the right one depends on your control mechanism. HUAWHA offers a vast selection of SMD and Through-Hole piezo buzzers optimized for small devices (4mm to 9mm widths) and standard operating voltages from 3V to 24V DC.
Buzzer Type | Wiring & Signal Requirements | Best Applications |
|---|---|---|
Active Piezo Buzzer | Requires DC power. Has a built-in oscillator. Strict Polarity (+ / -). | Simple alarms, timers, and fixed-tone alerts. |
Passive Piezo Buzzer | Requires an external AC square wave signal (PWM). No strict polarity. | Melodies, variable frequencies, IoT devices, and custom alerts. |
Electromagnetic Buzzer | Uses a magnetic coil and diaphragm. Requires more current than piezo. | Low-frequency audio feedback, older telecom devices. |
Step-by-Step Piezo Buzzer Wiring Guide
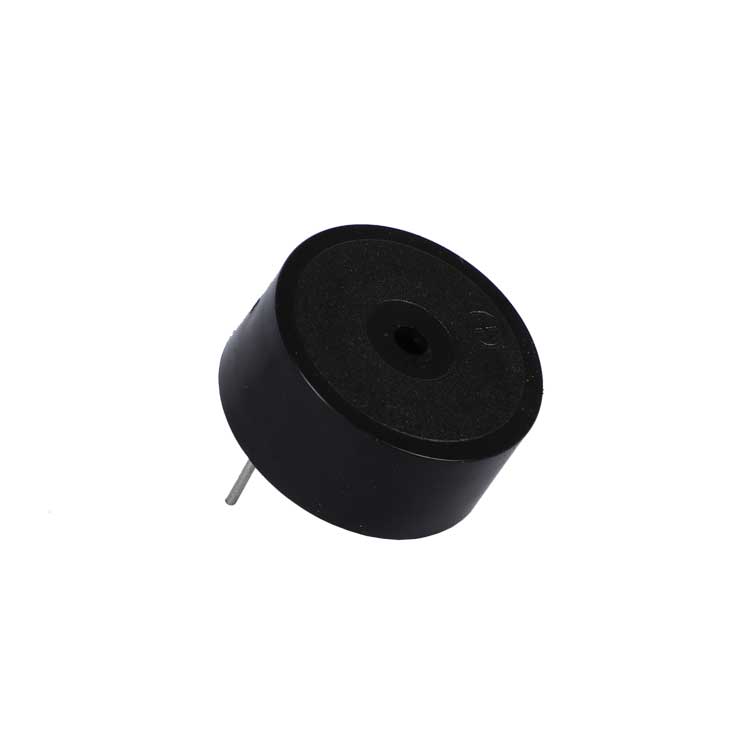
1. Identify Terminals & Polarity
Polarity rules depend entirely on the buzzer type:
Active Buzzers: Look for the "+" sign or the longer red wire. You must connect the positive lead to VCC/Signal and the negative (black) lead to GND. Reversing this will prevent it from working and may damage the internal oscillator.
Passive Buzzers: These require an alternating voltage to vibrate the ceramic disc. Therefore, they typically do not have strict positive/negative polarity and will work regardless of which pin connects to the signal. However, keeping the red wire to the signal pin is a good standard practice.
2. Connect to Microcontroller (Arduino Example)
Place the buzzer on your breadboard.
Connect the Signal Pin (or Positive Lead) to a digital PWM pin on your Arduino (e.g., Pin 8).
Connect the other Pin (or Negative Lead) to the GND rail.
Upload your code. For passive buzzers, use the
tone(pin, frequency, duration)function.
Pro-Tip on Resonant Frequency: Every passive piezo buzzer has a specific resonant frequency (e.g., 4kHz) where it produces the maximum volume. While you can change the frequency to create different pitches via code, driving the buzzer far from its resonant frequency will result in a much quieter sound.
Scaling Up: From DIY Breadboard to Mass Production PCB
While breadboards are great for prototyping, B2B hardware engineers must consider reliability when transitioning to mass production. Here is what you need to know when integrating HUAWHA buzzers into your commercial PCBA designs:
SMD vs. THT Mounting: For compact IoT and medical devices (like blood glucose meters), HUAWHA’s 4mm–9mm SMD piezo buzzers are ideal and compatible with automated reflow soldering profiles.
Drive Circuit Design: While a 5V Arduino can drive a small 3V-5V passive buzzer directly, industrial 12V or 24V piezo alarms require an NPN transistor or MOSFET to handle the voltage safely without frying the microcontroller's logic pins.
Acoustic Cavity Design: The sound output (dB) of a piezo element is heavily influenced by the acoustic cavity designed into your product's plastic housing. Ensure proper front-volume and back-volume ratios during mechanical design.
Testing & Troubleshooting Common Issues
If your circuit isn't producing sound, use this troubleshooting table to identify the root cause:
Issue | Probable Cause | Solution |
|---|---|---|
No sound at all | Using | Verify buzzer type. Ensure GND is securely connected. |
Weak / Quiet sound | Driving a passive buzzer far from its resonant frequency. | Check the datasheet for the resonant frequency (e.g., 2730Hz) and adjust code. |
Distorted / Clicking noise | Incorrect PWM duty cycle or voltage mismatch. | Ensure 50% duty cycle for square waves. Verify voltage matches the buzzer rating. |
Why Choose HUAWHA Electronics for Your Buzzer Components?
As a factory with 15+ years of manufacturing experience, exporting to over 100 countries, HUAWHA provides components that meet strict international standards.
Certification | Core Focus | Applicable Region |
|---|---|---|
ISO 9001 / ISO 14001 | Quality & Environmental Management Systems | Global |
CE & RoHS | Safety, EMC, and Hazardous Substance Restriction | EU / Global |
SGS Verified | Factory Audit and Material Compliance | Global |
Wholesale Pricing Estimates (Component vs. Finished Device)
Note: Pricing varies based on MOQ, specifications, and custom tooling requirements.
Category | Description | Est. Wholesale Range |
|---|---|---|
Raw Piezo Elements | Bare ceramic discs or basic transducers | $0.15 – $0.80 / unit |
SMD / THT Buzzer Modules | Enclosed, board-mountable active/passive buzzers | $0.30 – $2.50 / unit |
Industrial Panel Alarms | Finished, high-decibel warning devices with housings | $3.50 – $25.00+ / unit |
Need custom piezo buzzers or industrial alarms for your next mass-production run?
Request a Free Quote & Datasheet from HUAWHA Electronics Today
FAQ
Do I need a resistor with my piezo buzzer?
No. Piezo buzzers are capacitive loads and draw minimal continuous current. You do not need a current-limiting resistor like you would with an LED. However, if you are driving a high-voltage buzzer with a microcontroller, you will need a transistor to act as a switch.
Can I use the Arduino tone() function on an active buzzer?
No. The tone() function generates a square wave (PWM) designed for passive buzzers. If you apply this to an active buzzer, it will likely just produce a distorted clicking sound or no sound at all, because active buzzers already have an internal oscillator and only expect a steady DC HIGH signal.
What are the common applications for HUAWHA piezo buzzers?
Our components are widely used in medical devices, automotive seatbelt warnings, smart home appliances, and IoT security alarms.
What is the difference between Active and Passive buzzers?
Type | Needs External Signal? | Has Built-in Oscillator? |
|---|---|---|
Active | No (Just DC Power) | Yes |
Passive | Yes (Square Wave / PWM) | No |